|
Free Advent Calendar Pattern
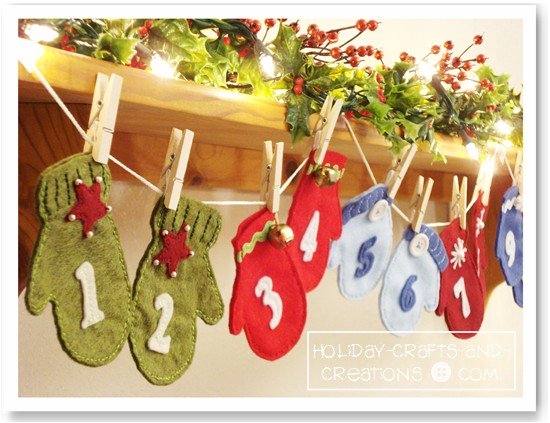
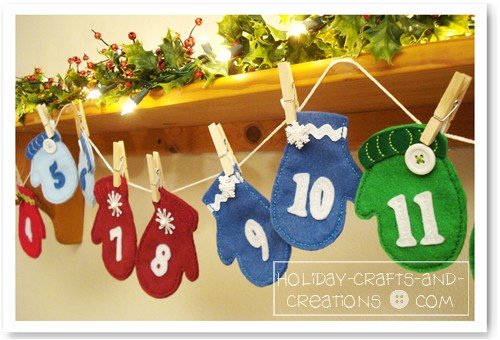
If you are looking for some fun Christmas sewing crafts then try our advent calendar pattern of cute little mittens. Our advent calendar is designed to be a garland of mittens, which would be perfect to hang along your mantel, down the banister, or even draped around your Christmas tree. It would also be the perfect thing if you have little ones who are always wondering how many more days there are until Christmas. So if you do, then make them a countdown calendar with this cute advent calendar pattern of mittens. Our advent calendar pattern, which includes 4 different mitten designs, could also be used to make a Christmas garland or as ornaments, just leave the numbers off!
Materials for Advent Calendar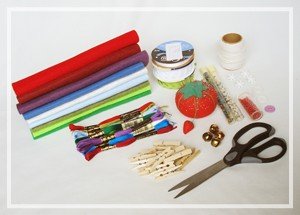
General Instructions For All Mittens1. Print and cut out the Advent Calendar Pattern. 2. For each pair of mittens, cut 2 for the left mitten and 2 for the right mitten.
3. When the instructions tell you to stitch the mitten front to its back, this is what you will do for each mitten. For each mitten, cut a piece of ribbon 2 ½" long and fold in half. Then line up the front mitten piece with the back piece and tuck the folded ribbon between them, along where the seam will be on the side opposite of the thumb. See photo B.
4. Now decide what stitch you want to use along the edge. Some options would be the running stitch, backstitch, blanket stitch or whip stitch. We used the running stitch, and once we got all the way around the mitten, we continued the running stitch and worked our way back to where we started, to create the look of a backstitch. This way both the front and back will look like the backstitch. If you actually use the backstitch, the backside of the mitten will look much different than the front. Instructions For Mitten Shape #1
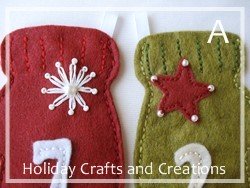
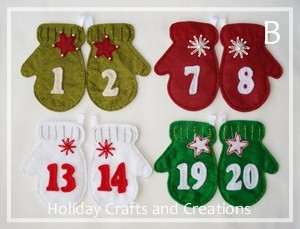
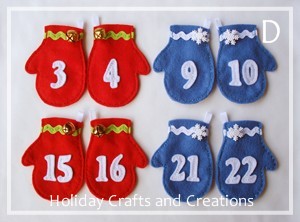
Next, stitch on a star and then add pearl or seed beads to the points of the star if you would like. Or use the lazy daisy stitch stitch with added pearls and seed beads. We did two pairs with stars and two pairs with the lazy daisy stitch (Photos A and B).

Now center the numbers and stitch them on. Then stitch the mitten front to its back. See general instructions above, #3 and #4.
Instructions For Mitten Shape #2
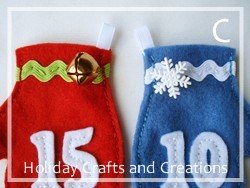
Cut a piece of ric rac trim about 4" long, and on the front mitten piece, fold the edges of the ric rac to the back and then sew the ric rac on along the wrist of the mitten. Be sure your stitches catch the ric rac that's on the backside.
Now sew on a jingle bell or snowflake button. We did two pairs with jingle bells and two pairs with snowflake buttons. See photos C and D.

Now center the numbers and stitch them on. Then stitch the mitten front to its back. See general instructions above, #3 and #4. Instructions For Mitten Shape #3
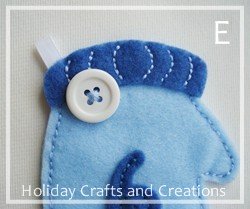
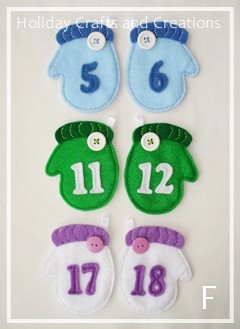

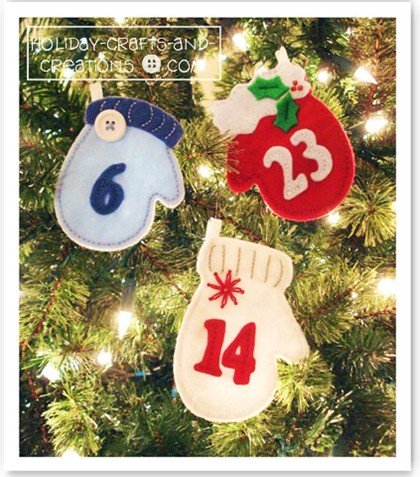
Next, sew on a button along the cuff. See photos E and F. Then center the numbers and stitch them on.
Stitch the mitten front to its back. See general instructions above, #3 and #4.
Instructions For Santa’s Mittens
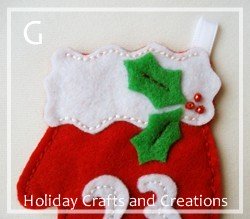
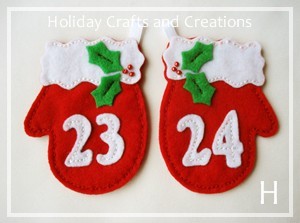
Cut out 4 holly leaves and stitch them on down the center of each leaf. Then sew on 3 red beads for the berries. See photo G. Then center the numbers and stitch them on.
Stitch the mitten front to its back. See general instructions above, #3 and 4. Note: When sewing the mitten front to its back, you should be able to lift the cuff edge enough to stitch under the cuff. See photos G and H.
As you take the mittens down each day, you could then hang them on your tree as an ornament. Suggestion: Since the mittens are a little small to actually put a treat inside them, you could simply place a small note inside each one instead. The notes could announce a special event or fun activity that you’ll be doing that day. For example, tickets to a Christmas play, decorating sugar cookies, or going to see Santa. Or the notes could have clues to a "treasure hunt" that leads them to a hidden surprise.
We hope you enjoyed this free advent calendar pattern, and if you would like more Christmas embroidery patterns or some easy to make Christmas decorations, click the link below.
Return to Christmas Crafts from Mitten Advent Calendar
Marilyn Says: yEllOwBiRd Says: Supercool Mom Says: Violeta Says: Silvia Says: BYE... CraftyLindaw Says: Laura Says: |


