|
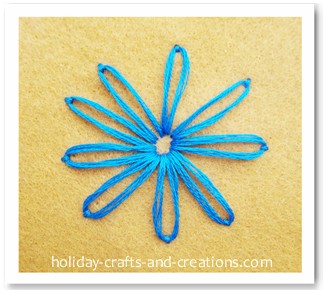
Lazy Daisy Stitch

Begin the lazy daisy stitch by bringing the needle up from the back, through your fabric.
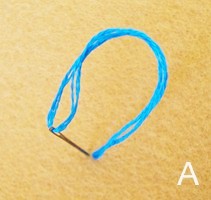
Now poke the needle down next to where it just came up. Do not pull the thread all the way through to the back. Leave plenty of thread to make the loop of the daisy petal. See photo A.

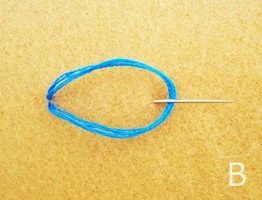
Next bring the needle up at the desired length that you want your daisy petal to be. Make sure your needle is coming up inside the loop. See photo B. Now pull your thread tight.

Now poke your needle down on the outside of your loop. Make your stitch fairly close to where it came up on step 3. See photo C.

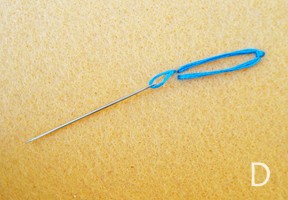
To start the next petal, bring your needle up in the center of your daisy and follow steps 1 – 4 again. See photo D.
|


