|
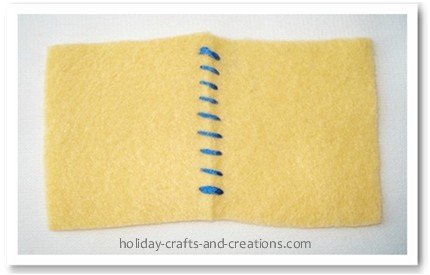
Whip Stitch

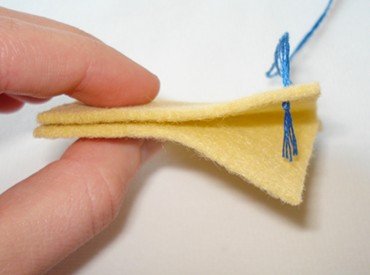
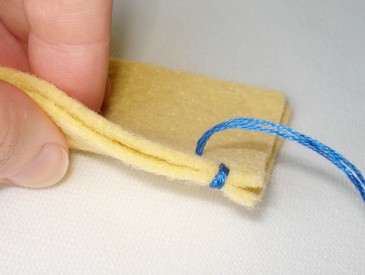
Step 1: Begin the whip stitch by tying a knot in the end of your thread. Then poke your needle up through the top layer of fabric, about 1/8" in, from between the two pieces. This way the knot will be between the two pieces of fabric and will not be visible.
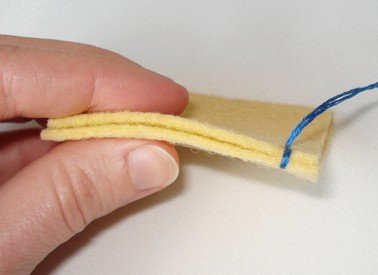
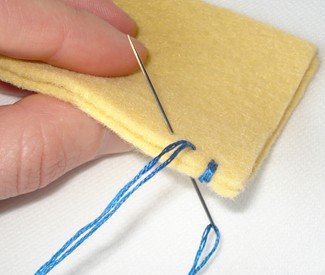
Step 2: Next, poke the needle up through both layers of fabric so the needle and thread come up in almost the same place as in step 1. By doing this, the thread should be wrapped around the edges of the fabric in one neat stitch. It is important to pull the stitches so that they are snug, but not overly tight.
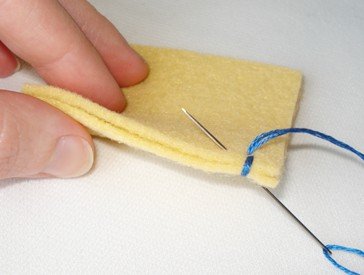
Step 3: Once again, poke the needle up through both layers of fabric. Poke the needle though the same hole as before, so this next stitch will cover the first stitch. However, this time you will angle the needle so that it comes up about 1/8" from the first stitch (as well as 1/8" from the edge of the fabric). Pull this stitch tight, and you should have what still looks like one stitch, but the thread is coming out of the fabric next to it.
Step 4: Now poke the needle up through the fabric, directly under where the thread is coming up. But again, angle the needle so that the end comes out next to this second stitch. When you pull this stitch tight, it should be straight up and down, not angled. In others words, it should be parallel to the first stitch.
Step 5:
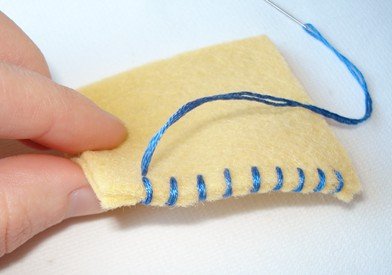
Continue this pattern of poking the needle through the two layers at an angle, coming up next to the previous stitch. When you have reached the end of the section you want to stitch, or you need to start with a new piece of thread, make the final stitch come straight up, rather than angled off to the side. Then poke the needle through the bottom of this stitch again (making the stitch doubled) but only go through the bottom layer, so your thread is in between layers. Basically you are trying to do the reverse of how you started the whip stitch, so you can make a knot in between the layers of fabric.
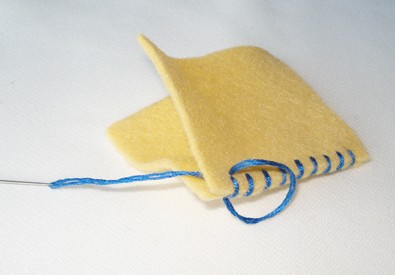
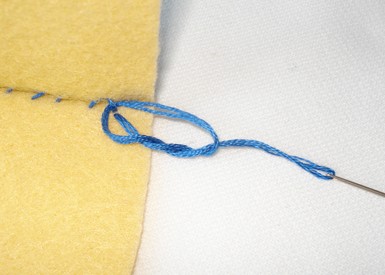
Step 6: To make the knot, you may have to pull the two pieces of fabric apart a little. This will let you see the backs of the stitches you made. Poke the needle through the backside of the last stitch you made. Then loop the needle through this loop of thread twice. Now as you pull the thread tight, this should create a knot that is tight against the seam. You now can cut your thread free. Now you are done!
If you were knotting off the thread because it was getting too short, but you weren't finished, simply get a new piece of thread and start again from the beginning of this tutorial.
|


